
Embedding a Slideshow
Another common form of lesson content would be the slideshow. Unfortunately, unlike Uploading a Video, there’s no built-in way to embed a slideshow. There is, however, still a way to do it. We typically do so by uploading them to Slideshare, and then getting them from there. Uploading to Slideshare is a pretty straightforward process. When you click Upload in the top bar, you’ll be prompted to log in to your LinkedIn account. Once you do so, just follow the instructions. The only thing you need to do specially is, when setting the privacy, set it to Private. Once the upload is complete you can go about getting the embedded code.
Step 1) Underneath your presentation there will be three buttons with different options. Click on Privacy Settings.

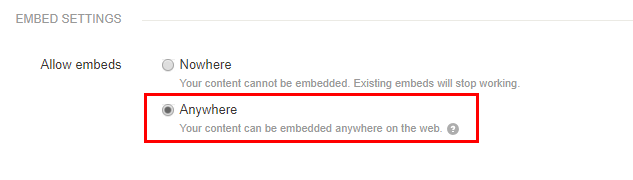
Step 2) Near the bottom of the settings, there is an Embed Settings section. It will be set to Nowhere, you will need to set it to Anywhere. Once you do so, the Update button will activate. Click Update.
Step 3) Once the page updates, there will be a new field entitled Embed Code. The copy button does not work, so what you need to do is click on the text three times, and then press Ctrl+C on your keyboard (Command+C on Mac).

That is all you need to do on Slideshare. From there, you need to navigate to the lesson that you wish to embed the slideshow in.
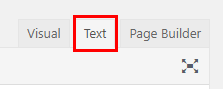
Step 4) In the Description section of the lesson, make sure you’re on the Text tab.
Step 5) Paste the code that you’ve copied. Technically, that is all you need to do. However, the code will include a link to the presentation on Slideshare, as well as to your LinkedIn profile. If you would not like those to display in the lesson, simply remove everything after </iframe> .
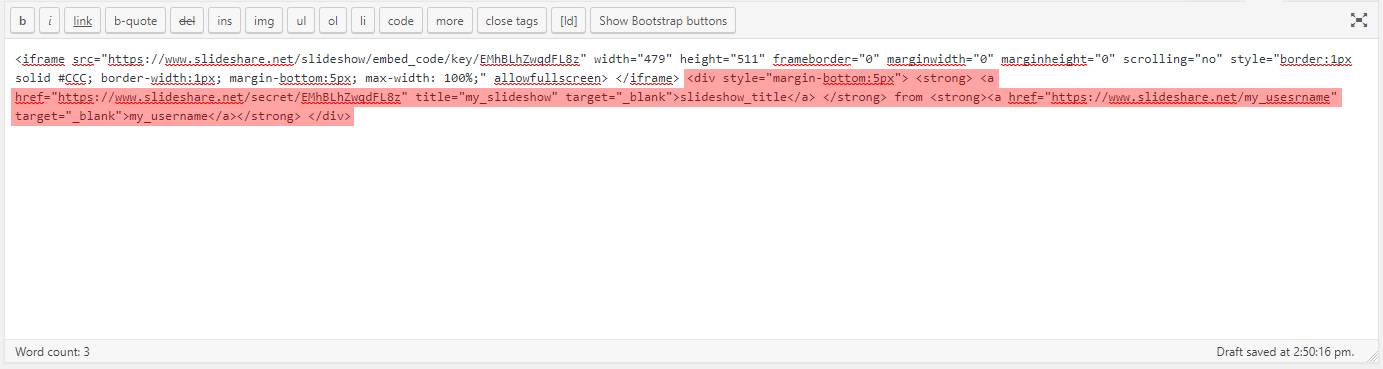
From there, your slideshow will be embedded and you’ll be good to go. If you’d like to edit the width or height, you can do so by changing the numbers after width and height.