There are two ways to add new Partner Organizations (POs) to your LMS. You can either add them individually, or you can add them in bulk.
Adding an Individual PO
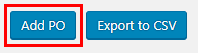
Step 1) To add an individual PO, you’ll need to be on the page with your Database of Partner Organizations. At the top of the page, above the table of POs, click Add PO.
Step 2) Enter in the PO’s information. Only fields with red asterisks are mandatory. Every site asks for different information regarding their POs, so enter what your site specifies. Once you have added all of the information, click Add PO.
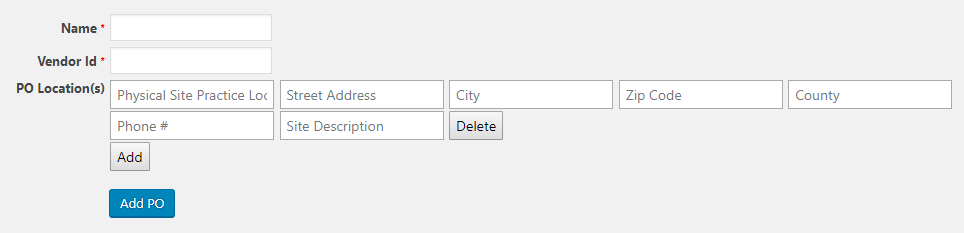
Once you do this, the PO will be added to the site and it is good to go.
Bulk Uploading POs
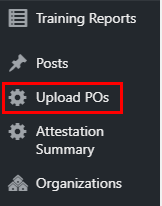
Step 1) To access the page to bulk upload Partner Organizations, you will need to go to the backend of the site. On the left-hand sidebar, typically near the top of the page, there is an option that says Upload POs. Click on that.
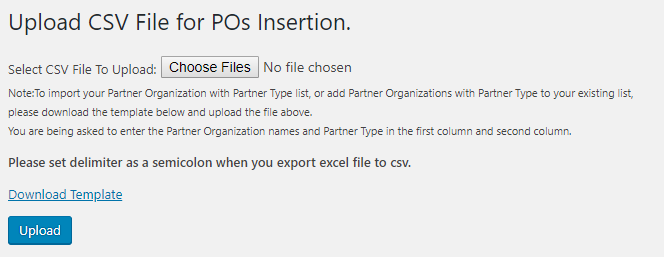
Step 2) Select a file to upload. You can download a template, enter your information in it, save, and choose that one. This is very similar to uploading to the CPD. Once you have done this, click Upload. Note: not all sites have a template. For those, the necessary column heads are listed above the upload button.