
Adding an In-Person Course
Setting up an in-person course on the LMS allow the admin to promote the training events, as well as track registration data across all of the course’s sessions.
When setting up a training, the course settings are not the same across all sites. Some sites do not have all the fields that others do, and vice versa.There also many fields that appear under other tabs, most notably the registration data, which will sometimes be under the Training Details tab, while other times it will be under the Registration tab.
Only the fields that have a red asterisk are required. We will go over many fields and settings, but most are not mandatory.
Course Settings
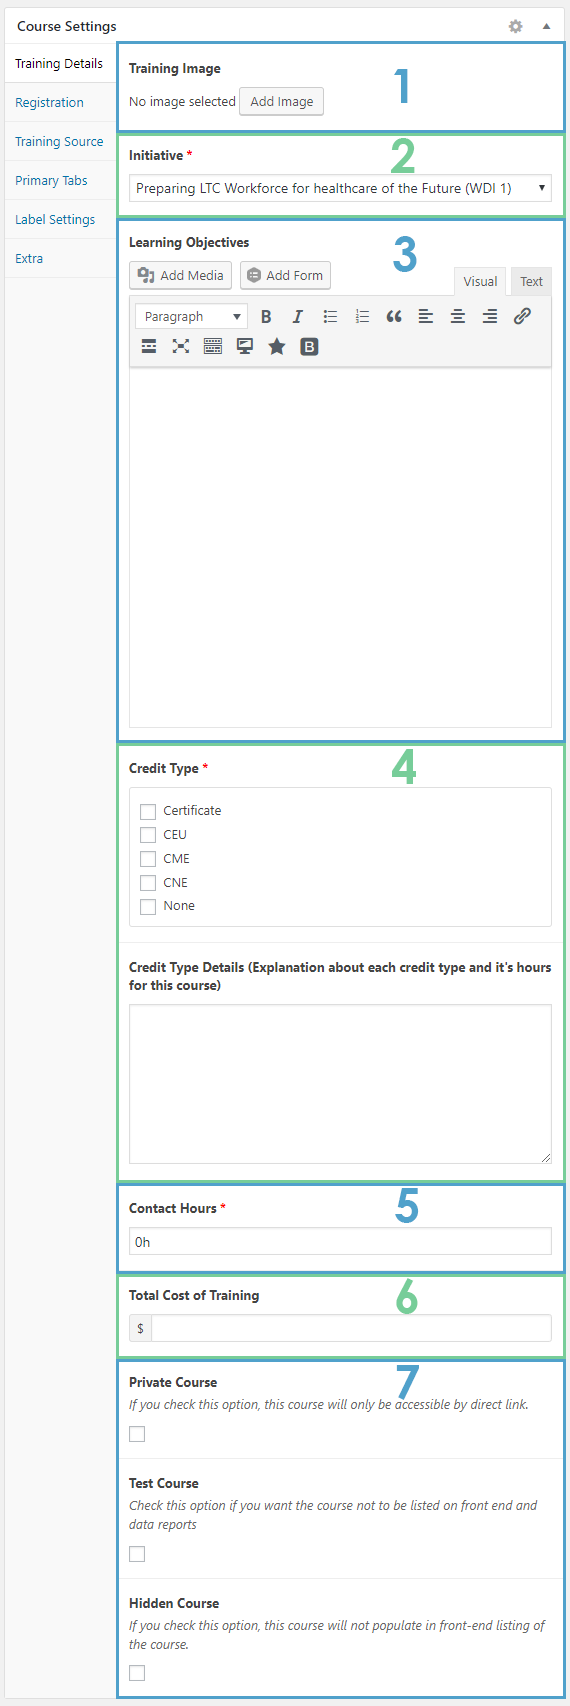
Training Details
1) Training Image – The image associated with the course; the “cover” if you will. Set it by clicking Add Image and selecting from the content library or uploading a new image.
2) Initiative – If your site has an initiative, project, catalog, or something of the like, you can set it here. Note: not every site has this. For those that do, it may likely appear on the right-hand side as well.
3) Learning Objectives – The outcomes the participant will achieve upon completing the course. Whatever you enter in this section will appear under the Learning Objectives tab on the front end of the course.
4) Credit Type – Set the type of credit, if any, the course will grant the participant. This field lets employees know what kind of credit they will receive from the course. Note: this does not physically grant the credit, it simply is a way to let people know what credit they will receive.
The Credit Type Details are details about the credit type that users will receive, if any are applicable.
5) Contact Hours – This informs participants of how long the training will take to complete. For online courses, this can be estimated.
6) Total cost of training – This field can be ignored.
7) Privacy Settings – These are settings that limit who can see the course, and whether or not it appears in the front end.
- Private Course – The course will only be accessible via direct link. This option is best used when you have a training you only want to make available to specific people you provide access to.
- Test Course – This setting is for when you are testing a course and do not want the training to be visible to the public nor registration or training participating data to appear in the training databases. This option is mostly used by administrators for testing purposes.
- Hidden Course – This option is for when you would simply like to hide a course listing from the public. This option is typically utilized to quickly or easily “take down” a course that is no longer being offered without having to delete it.
Registration
The Registration section contains the settings for the type of course,as well as how users can register for it.
Note: this information appears under Training Details on many sites.
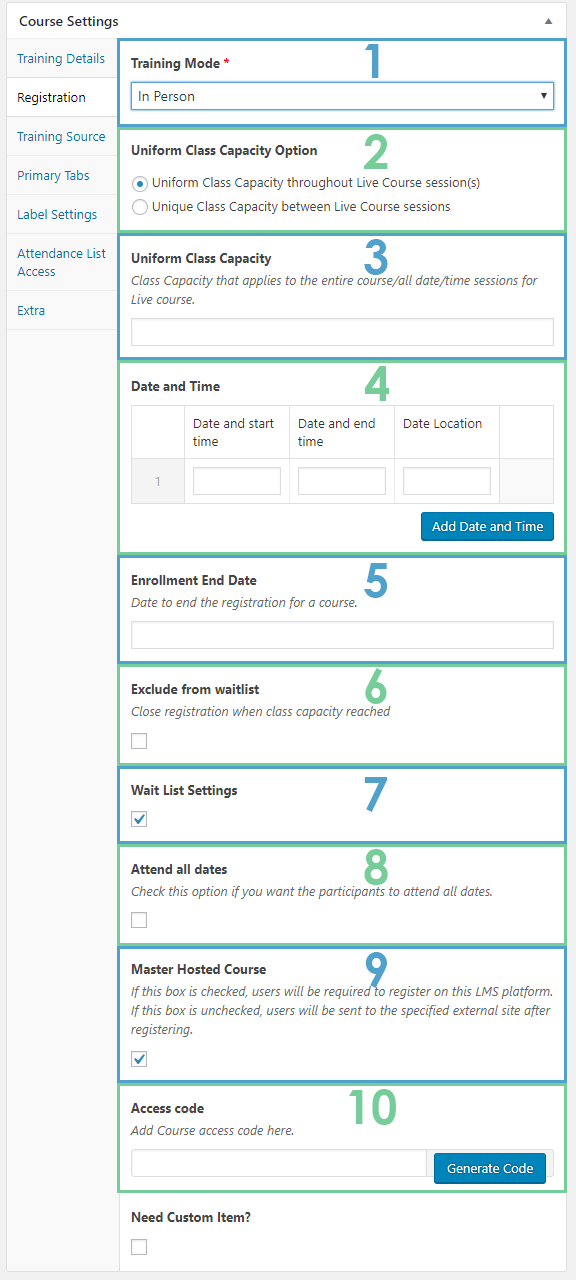
1) Training Mode – The type of course you are creating. For setting up an in-person course, set to In-Person.
2) Uniform Class Capacity Option – This option determines the class capacity for each of your sessions.
- Uniform – Each session will have the same class capacity.
- Unique – Each session will have a different class capacity.
3) Uniform Class Capacity – If you selected Uniform under Uniform Class Capacity Option, then you enter said class capacity here. It will apply to all of your sessions. If you selected Unique, that option will be taken care of with Date and Time.
4) Date and Time – This is where you set the date, time, and locations for each of your sessions. You must have at least one session, but you can add as many more than that as you need, depending on the number of sessions.
When you click on the date and time fields, a calander will pop up where you can select the date and time. In the location field, you can type whatever you want.
If you selected Unique under Uniform Class Capacity Option, then there will be a fourth column where you can enter each session’s capacity.
5) Enrollment End Date – The date that registration for the course will end, if you wish to close registration after a certain date. If you do not wish to close registration after a certain date, you can leave this blank. Registration will close automatically at the start time of the course.
6) Exclude from Waitlist – Checking this will close registration once capacity is reached.
7) Wait List Settings – Checking this will allow employees to join a waitlist ater capacity is reached.
8) Attend all dates – If you would like participants to have to attend all sessions of a course, check this option. Note: many sites have this option disabled.
9) Master Hosted Course – Check this box if you would like the course to be hosted on the LMS platform. If you uncheck this box, you will need to provide a redirect link for participants to be sent to after registering. This option is rare, but can be used if the training is being hosted outside of the LMS.
10) Access Code – If you want to restrict registration to only those with the code, you can add said code here. You can add your own code, or you can click Generate Code to have one be randomly generated.
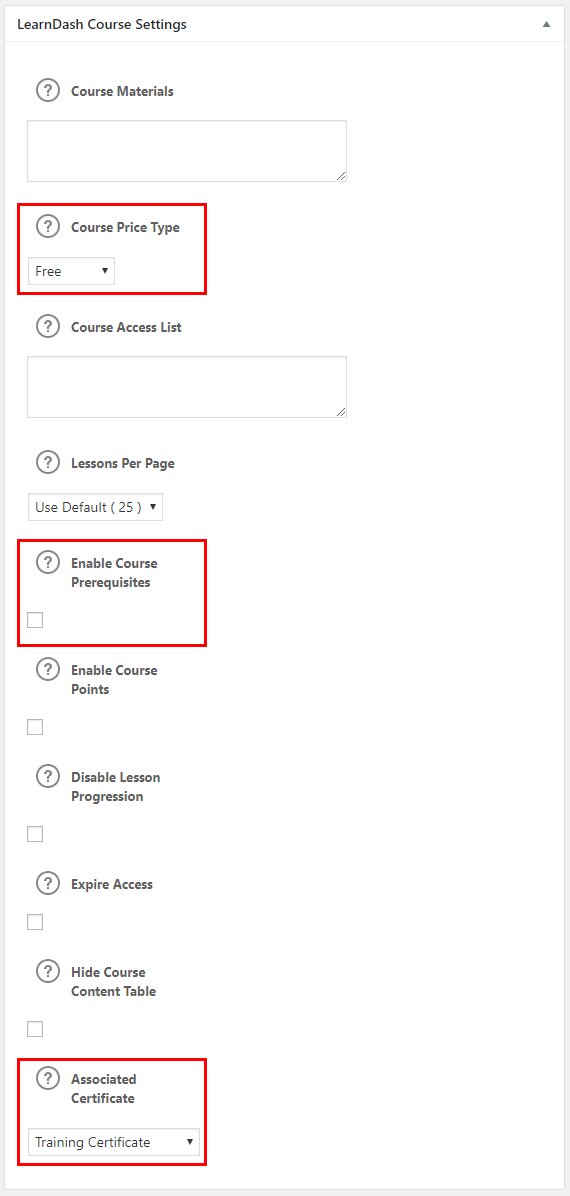
Learndash Course Settings
Course Price Type – The price type of the course. Be sure this is set to Free. Setting it to Free ensures that people have to log in to access and take the course. If you set it to Open, that will allow anyone to take the course, regardless of whether or not they’re logged in, and you will be unable to track participants.
Enable Course Prerequisites – If you wish for this course to have pre-requisites, you can designate them by checking this box. When this box is checked, another field will open up where you can select the courses you wish to have as pre-requisites.
On some sites you can only select one at a time, but to select multiple, you can hold either Crtl or Shift and select the courses you wish to use.
Associated Certificate – The certificate you want associated with the course. You can set any certificate that you’ve created as the certificate here. If you leave this blank, there will be no certificate for the course.
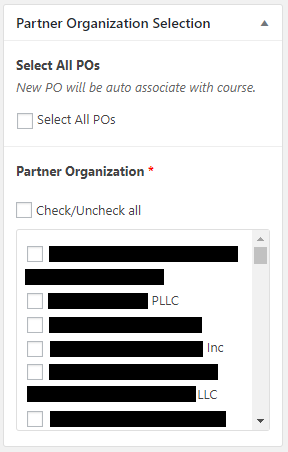
Something that most sites have is some kind of Partner Organization Selection. It may say Employer, Partner, or anything along those lines. What that selection designates is which partners can have access to the course. Every site’s option is a little bit different, but they mostly all operate the same way.
Select All POs will make the course available to all partners, including any that are added after the course is published.
Check/Uncheck all (under Partner Organization) operates the same way as Select all POs, except it does not add any newly added POs after the course is published.
If you do not want all your partners to access the course, you can select the ones you do want to have access individually in the provided list.
Some sites have a version of this where, instead of individual employers, you can select by PPS. It functions the same way.
On almost every site that has this field, it is required in order to publish the course.
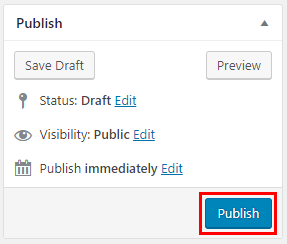
Once you have set everything up the way you want it, click on Publish. It will be near the top of the page, on the right hand side. Once you do so, you course will be public and available for people to take (so long as you haven’t checked off any privacy settings in the Course Settings portion of the page). After you’ve clicked publish, that button will change to Update and you will click that if you make any changes after publishing to save them.
If you are uploading a Webinar, the set-up is almost exactly the same as what you saw here. The main difference lies in that you would want to uncheck Master Hosted Course. When you do so, a field will open up where you can post a link to the site of the webinar. When users click Start Course on the front end, they will be taken to the site of the link you posted.